
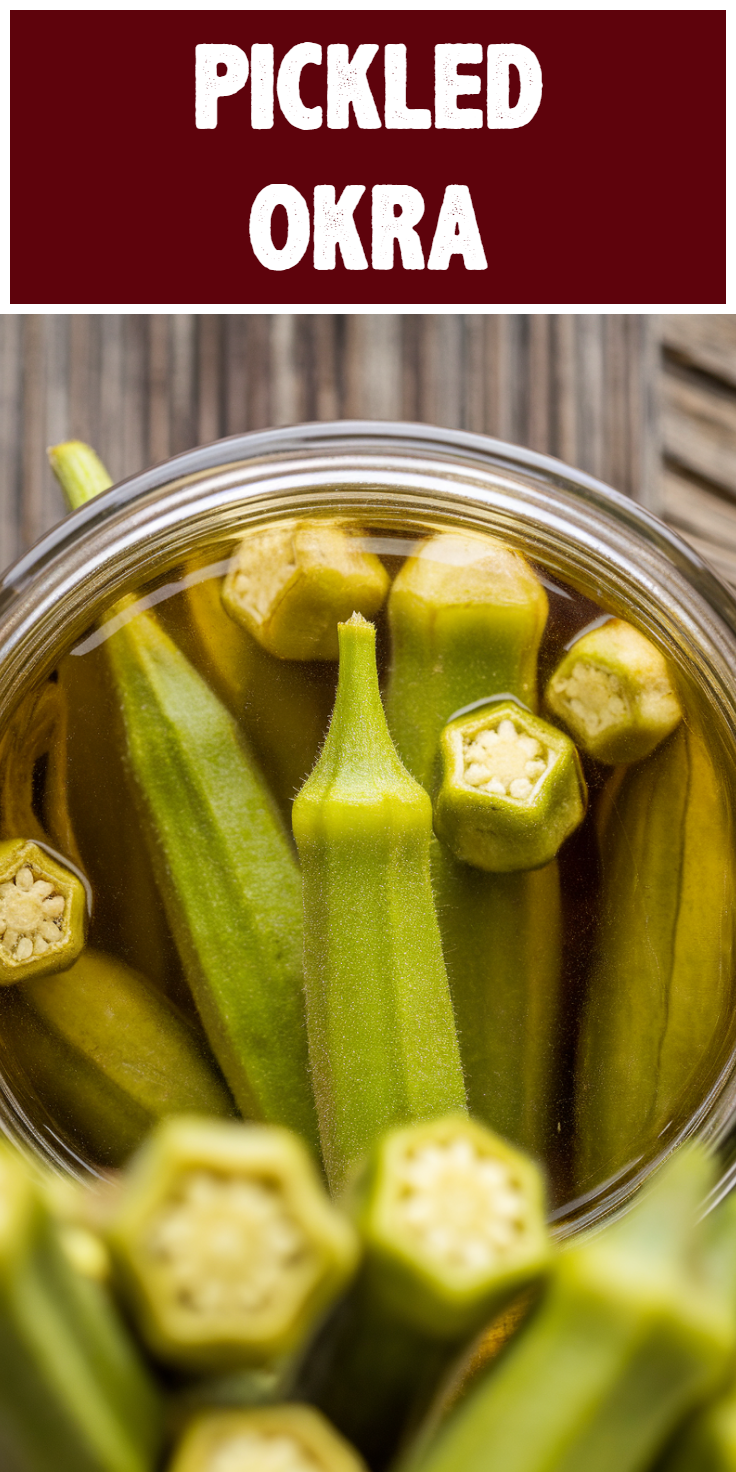
Pickled okra is a fantastic way to enjoy this unique vegetable with a tangy crunch. It’s surprisingly simple to make and adds a delicious pop to any meal. You’ll love how easy it is to preserve fresh okra right in your kitchen.
Key Ingredients & Substitutions
- Fresh Okra: Look for firm, bright green pods. Avoid soft or blemished ones. Smaller okra pods tend to be more tender.
- Vinegar: White vinegar is classic for pickling. You can also use apple cider vinegar for a slightly fruitier tang.
- Pickling Spices: Pre-made blends are convenient, but you can customize with whole mustard seeds, dill seeds, red pepper flakes, and garlic cloves.
Ingredients
Main Ingredients:
* 1 pound fresh okra, washed and trimmed (leave a tiny bit of stem)
* 2 cups white vinegar (5% acidity)
* 2 cups water
* 2 tablespoons pickling salt (non-iodized)
* 2 teaspoons pickling spice blend (or your own mix)
* 4-6 cloves garlic, peeled
* Optional: 1 teaspoon red pepper flakes (for a little heat)
How Much Time Will You Need?
- Prep Time: 15 minutes
- Cook Time: 10 minutes
- Total Time: 25 minutes (plus chilling time)
- Servings: 2 pints
- Tools Needed: Two 1-pint canning jars with lids and bands, medium saucepan, measuring cups and spoons.
Step-by-Step Instructions
1. Prepare Your Jars
Wash your canning jars and lids thoroughly with hot, soapy water. Rinse them well. You don’t need to sterilize them for refrigerator pickles, but clean jars are a must.
2. Pack the Okra
Place 2-3 garlic cloves and a pinch of red pepper flakes (if using) into the bottom of each clean pint jar. Pack the trimmed okra pods tightly into the jars, leaving about 1/2 inch of space from the top.
3. Make the Brine
In a medium saucepan, combine the white vinegar, water, pickling salt, and pickling spice blend. Bring the mixture to a rolling boil over medium-high heat, stirring until the salt is fully dissolved.
4. Pour the Brine
Carefully pour the hot pickling brine over the okra in each jar. Make sure the okra is completely submerged in the liquid. If needed, you can gently press down on the okra with a clean spoon.
5. Seal and Cool
Wipe the rims of the jars clean with a damp cloth. Place the lids and bands on tightly. Let the jars cool completely on your counter at room temperature.
6. Chill and Enjoy
Once cooled, transfer the pickled okra to the refrigerator. For the best flavor, let them chill for at least 24 hours before enjoying. The flavors will deepen over a few days.
Storage Instructions
Store your pickled okra in sealed jars in the refrigerator. They will stay fresh and crunchy for up to 3-4 weeks. Always use a clean utensil when removing them from the jar to prevent spoilage.
Frequently Asked Questions (FAQ)
Q: Do I have to trim the okra?
A: Yes, trim the very top of the stem, but be careful not to cut into the pod itself, as this can make the okra slimy.
Q: Can I use different spices?
A: Absolutely! Feel free to experiment with bay leaves, peppercorns, or even a sprig of fresh dill.
Q: Why is my okra slimy after pickling?
A: This usually happens if the okra wasn’t fresh or if the pods were cut too deeply during trimming. Using small, fresh pods helps prevent this.
Q: How long do I need to wait before eating them?
A: While you can eat them right away, the flavor develops significantly after at least 24 hours in the fridge.
Q: Can I process these for shelf-stable storage?
A: This recipe is for refrigerator pickles only. For shelf-stable pickled okra, you would need to follow a tested water bath canning recipe.
Q: What do you eat pickled okra with?
A: Pickled okra is great on its own as a snack, added to salads, or served as a tangy side with sandwiches and grilled meats.