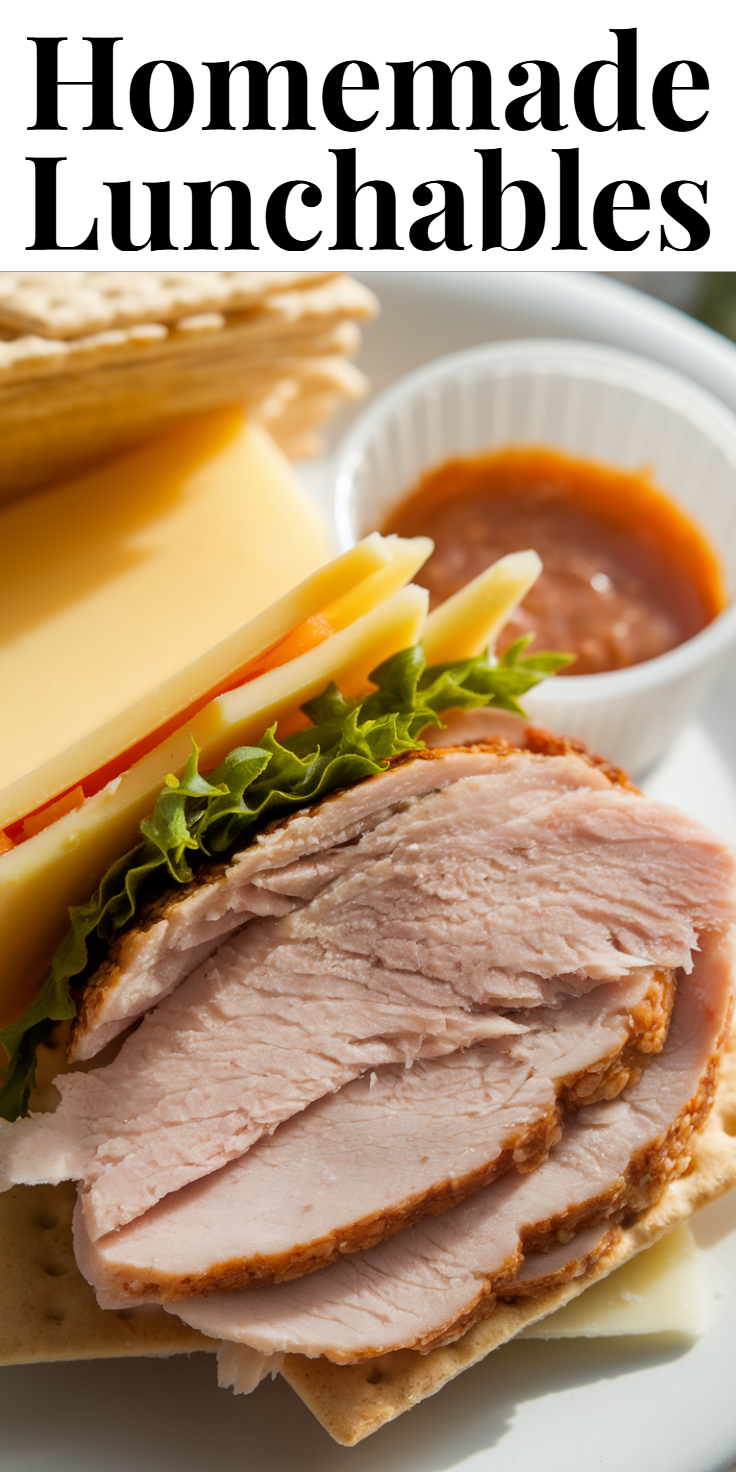
Making homemade Lunchables is a fantastic way to bring back a classic, customizable, and budget-friendly lunch option. Perfect for kids and adults alike, these DIY lunch kits are endlessly adaptable and a fun alternative to store-bought versions.
Key Ingredients & Substitutions
- Crackers: Round butter crackers are classic, but whole wheat, gluten-free, or even pretzel thins work great.
- Deli Meat: Turkey or chicken are popular. Pepperoni, salami, or even thinly sliced roast beef are good alternatives.
- Cheese: American or cheddar slices are standard. Mozzarella sticks cut into rounds, provolone, or Swiss cheese are tasty substitutes.
- Optional Sides: Add fruit, veggies, dips, or a small sweet treat for variety.
Ingredients
Main Components:
- 1 box round butter crackers (or preferred crackers)
- 1/2 lb sliced deli turkey
- 1/2 lb sliced cheddar or American cheese
Optional Sides (Choose 1-2 per Lunchable):
- Baby carrots
- Cucumber slices
- Grape tomatoes
- Apple slices (tossed with a little lemon juice to prevent browning)
- Grapes
- Small chocolate chip cookies
- Ranch dip (small container)
- Hummus (small container)
How Much Time Will You Need?
- Total Time: 15 minutes
- Prep Time: 15 minutes
- Cook Time: 0 minutes
- Servings: 4-6 homemade Lunchables
- Tools Needed: Small airtight containers or bento boxes, cookie cutters (optional).
Step-by-Step Instructions
1. Gather Your Containers
Start by getting your airtight containers or bento boxes ready. Having them lined up will make the assembly process much quicker and more organized.
2. Prepare the Cheese and Meat
If your cheese and deli meat slices are larger than your crackers, you might want to cut them down. Use a cookie cutter the same size as your crackers, or simply trim them with a knife for a neat fit.
3. Portion the Crackers
Place a serving of crackers into one section of each container. A good starting point is about 10-12 crackers per homemade Lunchable, but adjust this based on how many you like.
4. Add the Meat and Cheese
Neatly arrange the prepared deli meat and cheese slices next to the crackers. Stacking them can save space and make them easy to grab for assembly.
5. Include Optional Sides
Now, add your chosen optional sides to the remaining sections of the container. Think about color and variety – a mix of fruit and vegetables is always a good idea.
6. Close and Store
Seal each homemade Lunchable container tightly. They are now ready to be packed for lunches throughout the week!
Storage Instructions
Store your assembled homemade Lunchables in the refrigerator for up to 3-4 days. Make sure all components are kept in airtight containers to maintain freshness and prevent any items from drying out.
Frequently Asked Questions (FAQ)
Q: Can I make homemade Lunchables ahead of time?
A: Yes, absolutely! They are perfect for meal prepping at the beginning of the week.
Q: What kind of containers work best?
A: Any airtight container with multiple compartments, like a bento box, works great. Single-compartment containers with small silicone dividers also work.
Q: How do I keep apple slices from browning?
A: Toss apple slices with a tiny bit of lemon juice or a fruit fresh solution to prevent browning.
Q: Can I include dips or sauces?
A: Yes, pack dips like ranch or hummus in very small, leak-proof containers within your main Lunchable container.
Q: Are homemade Lunchables cheaper than store-bought ones?
A: Often, yes! Buying ingredients in bulk and assembling them yourself can save you money in the long run.
Q: What if I don’t have cookie cutters for the cheese and meat?
A: No problem at all! You can simply tear or cut the cheese and meat into smaller, cracker-friendly pieces.

