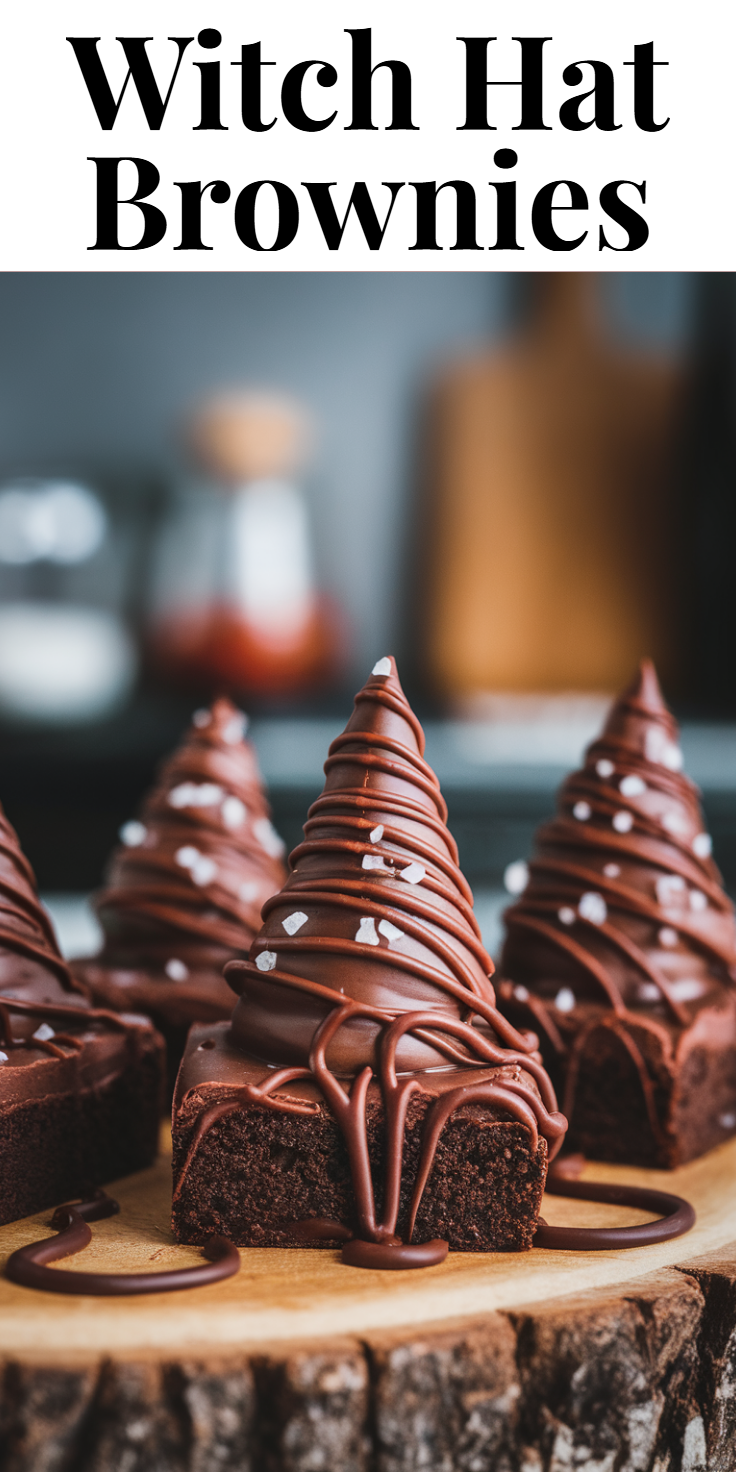
Get ready to bewitch your taste buds with these adorable Witch Hat Brownies! They’re super easy to make, fun to decorate, and perfect for any spooky celebration or just a magical treat. You’ll love how simple it is to turn ordinary brownies into something extraordinary.
Key Ingredients & Substitutions
- Boxed Brownie Mix: Your favorite fudge or chewy brownie mix works perfectly. You can also use a homemade brownie recipe if you prefer!
- Chocolate Sandwich Cookies: Oreo-style cookies are ideal for the hat brim.
- Chocolate Kisses: The classic Hershey’s Kisses make the perfect witch hat point.
- Green Frosting: Store-bought or homemade, just make sure it’s a vibrant green. Food coloring works great too!
Ingredients
For the Brownies:
* 1 (18.3 oz) box brownie mix, plus ingredients called for on the box (typically eggs, oil, water)
For the Witch Hats:
* 12-18 chocolate sandwich cookies
* 12-18 chocolate kisses, unwrapped
* 1/2 cup green frosting (store-bought or homemade buttercream)
How Much Time Will You Need?
- Total Time: 45 minutes
- Prep Time: 15 minutes
- Cook Time: 30 minutes
- Servings: 12-18 Witch Hat Brownies
- Tools Needed: 9×13 inch baking pan, mixing bowls, whisk, cooling rack, small offset spatula or butter knife
Step-by-Step Instructions
1. Bake the Brownies
Preheat your oven and prepare the brownie mix according to the package directions. Pour the batter into a greased 9×13 inch baking pan. Bake the brownies as instructed until a toothpick inserted into the center comes out with moist crumbs.
2. Cool Completely
Once baked, remove the brownie pan from the oven and let them cool completely on a wire rack. This is crucial for clean cuts and easy decorating. Don’t rush this step!
3. Cut the Brownies
Once the brownies are completely cool, cut them into squares. Aim for squares that are a similar size to your chocolate sandwich cookies, about 2×2 inches. You should get 12-18 brownies from a standard 9×13 pan.
4. Assemble the Witch Hats
Spread a small dollop of green frosting onto the center of each brownie square. Carefully place one chocolate sandwich cookie on top of the frosting, pressing gently to secure it. This forms the brim of your witch hat.
5. Add the Witch Hat Point
Pipe or spread a smaller dot of green frosting onto the center of each chocolate sandwich cookie. Press an unwrapped chocolate kiss onto the frosting, pointy side up. This creates the iconic witch hat shape.
6. Decorate with Extra Frosting (Optional)
If desired, use any remaining green frosting to pipe small “laces” or swirls around the base of the chocolate kiss, or along the edge of the cookie. This adds extra flair to your Witch Hat Brownies!
Storage Instructions
Store your Witch Hat Brownies in an airtight container at room temperature for up to 3-4 days. For longer storage, you can refrigerate them for up to a week. If refrigerated, let them come to room temperature before serving for the best taste and texture.
Frequently Asked Questions (FAQ)
Q: Can I use a different type of cookie for the hat brim?
A: Yes, any round, flat cookie like a shortbread or even a chocolate wafer could work, but chocolate sandwich cookies give the best look.
Q: What if I don’t have green frosting?
A: You can easily make green frosting by adding green food coloring to white vanilla frosting or homemade buttercream.
Q: Can I make these ahead of time?
A: Absolutely! You can bake the brownies a day or two in advance. Store them covered, then decorate the day you plan to serve them.
Q: Do the chocolate kisses melt easily?
A: Chocolate kisses are pretty stable at room temperature. Avoid placing the brownies in direct sunlight or very warm areas to prevent melting.
Q: What other candies can I use for the hat top?
A: While chocolate kisses are classic, you could also use other small, cone-shaped chocolates or even pipe a small point with melted chocolate.
Q: Can I freeze these Witch Hat Brownies?
A: Yes, you can freeze the undecorated brownie squares for up to 2 months. Thaw them, then decorate fresh for the best results.

