
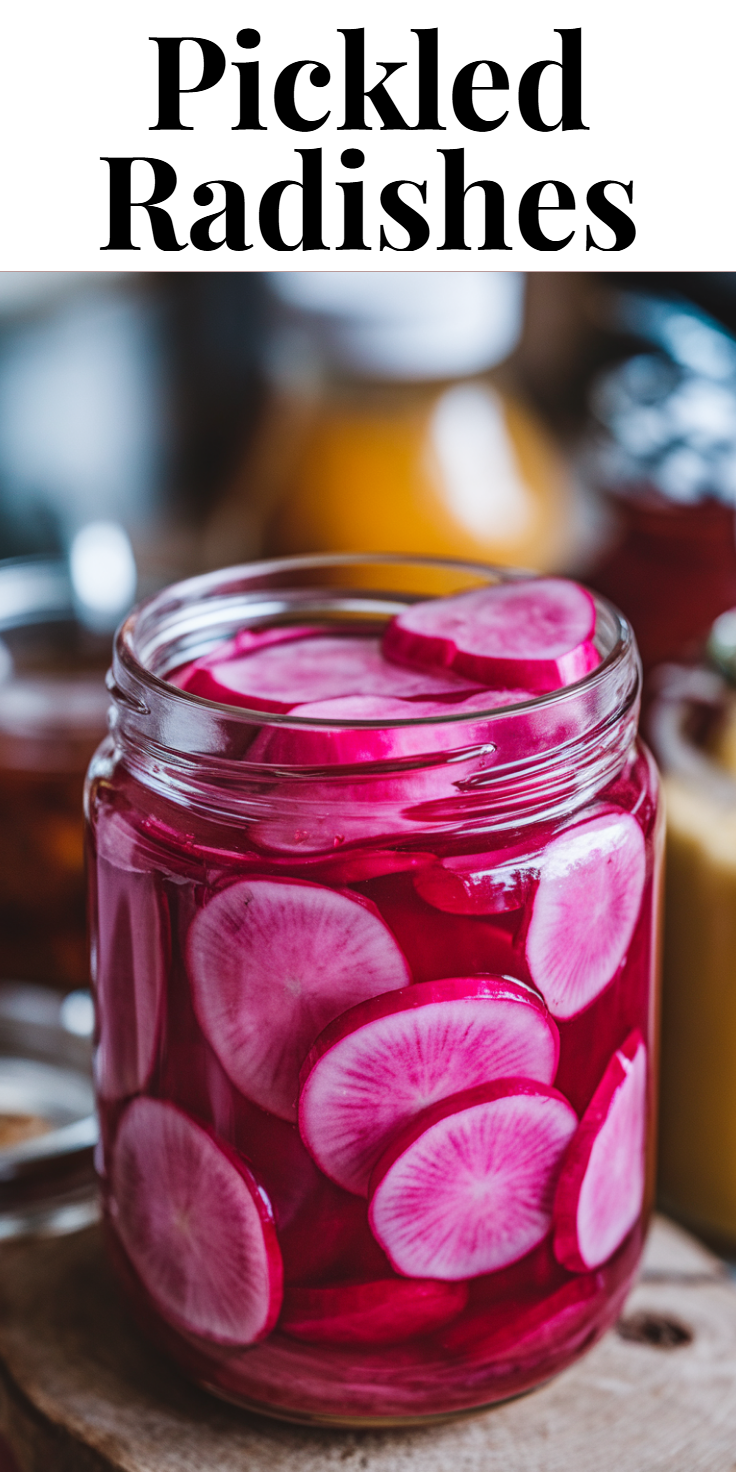
Pickled radishes are incredibly easy to make at home and add a vibrant crunch to so many meals. They’re quick to prepare and transform simple radishes into a tangy, slightly spicy, and beautiful topping. You’ll love how they elevate your sandwiches, tacos, and salads.
Key Ingredients & Substitutions
- Radishes: Any variety works! Red radishes are common, but daikon or watermelon radishes are also great.
- Vinegar: White vinegar or apple cider vinegar are best for their clean flavor. Rice vinegar can also work for a milder taste.
- Sweetener: Granulated sugar is standard. Maple syrup or agave nectar can be used as alternatives.
- Salt: Essential for brining and flavor. Sea salt or kosher salt are preferred.
- Water: Plain filtered water is all you need.
Ingredients
- 1 bunch (about 6-8 ounces) radishes
- ½ cup water
- ½ cup white vinegar
- 1 tablespoon granulated sugar
- 1 teaspoon salt
- Optional additions: 1-2 cloves garlic (sliced), ¼ teaspoon red pepper flakes, fresh dill sprigs
How Much Time Will You Need?
- Total Time: 15 minutes (plus at least 30 minutes chilling)
- Prep Time: 10 minutes
- Cook Time: 5 minutes
- Yields: 1 pint jar of pickled radishes
- Tools Needed: Small saucepan, glass jar with lid, cutting board, knife.
Step-by-Step Instructions
1. Prepare Your Radishes
Wash your radishes thoroughly. Trim off both ends. You can slice them into thin rounds or quarter them if they are larger. Aim for uniform pieces so they pickle evenly.
2. Make the Brine
In a small saucepan, combine the water, vinegar, sugar, and salt. Bring this mixture to a gentle boil over medium heat, stirring until the sugar and salt have fully dissolved. This usually takes just a couple of minutes.
3. Pack Your Jar
Carefully place your sliced radishes into a clean, heat-proof glass jar. If you’re adding optional ingredients like garlic or red pepper flakes, add them to the jar now, distributing them amongst the radishes.
4. Pour the Brine
Once the brine is ready, remove it from the heat. Carefully pour the hot brine over the radishes in the jar, ensuring they are fully submerged. You might need to gently press them down with a spoon.
5. Cool and Chill
Let the jar cool on your counter for about 15-20 minutes, or until it reaches room temperature. Once cool, secure the lid tightly and transfer the pickled radishes to your refrigerator to chill for at least 30 minutes before serving. For best flavor, let them chill for a few hours.
Storage Instructions
Store your homemade pickled radishes in an airtight jar in the refrigerator. They will last for up to 2-3 weeks. The texture will soften slightly over time, but they’ll remain delicious and tangy.
Frequently Asked Questions (FAQ)
Q: How long do pickled radishes last?
A: When stored in an airtight container in the refrigerator, they typically last for 2-3 weeks.
Q: Do I have to slice the radishes thinly?
A: Thin slices pickle faster and absorb more flavor. Thicker slices or whole small radishes will take longer to pickle.
Q: Can I use different spices?
A: Absolutely! Whole peppercorns, mustard seeds, or a bay leaf are great additions for different flavor profiles.
Q: Why are my pickled radishes not crunchy?
A: Ensure your radishes were fresh to begin with. Over-pickling or improper storage can sometimes lead to a softer texture.
Q: Can I reuse the pickling brine?
A: It’s not recommended. The brine loses its potency and freshness after the initial pickling process.
Q: What do you eat pickled radishes with?
A: They are fantastic on tacos, sandwiches, salads, grain bowls, or as a vibrant side dish for rich meats.